Angular Development: Signals

Join us as we explore Angular’s new Signals system and its role in improving performance in our in-depth blog series.
Looking for expert assistance in software development? Discover how Tier 2’s custom software solutions can elevate your digital initiatives. Talk to Tier 2 for a bespoke software solution leveraging industry-standard Java technologies, agile development, and user-centric design.
Welcome to the second instalment of our series on the Angular development Framework.
Written by James Smith, Software Developer, Tier 2 Consulting.
In this instalment, we’ll be discussing a recent feature of Angular called Signals. A feature first provided by the Angular team in version 16; to enhance the performance of displaying data in the UI.
What are Angular Signals?
Angular Signals have been introduced to the framework to improve performance. Specifically, to optimise component re-rendering when certain values displayed on the UI change. The Angular documentation describes a Signal as:
“A Wrapper around a value that notifies interested consumers when that value changes.”
// Like variables, signals hold a value that can change
const example = signal('value');

// Unlike variables, signals tell Angular when they change
example.set('new value');

// Angular will re-render that component when the value of a signal changes
<div>
  <p> {{ example() }} </p>
</div>
Angular Signals are ‘reactive primitives’, which are used to tell the framework what data your UI cares about; so, when that data changes, the UI is kept in sync. A Signal knows where it is used across your application and notifies these components when the value inside has changed.
There are three types of Angular Signals:
- Writable,
- Computed
- Effects
Writable Signals
The value of a writable signal is updated explicitly in code; in this sense, it behaves much like a standard variable.
miles: WritableSignal<number> = signal(0);
miles.set(1);
Computed Signals
Computed signals derive their value from one or more other signals. When the value of the signal it depends on changes, so too will the value the Computed signal holds.
kilometers: Signal<number> = computed(() => miles * 1.60934);
Effect Signals
Like a Computed, an Effect depends on other signals and executes an operation when those values change.
effect(() => {
    console.log(`The current mileage is: ${miles()}`);
});
What did we use before Signals?
Angular Signals were introduced as a developer preview feature in Angular 16; then a fully-fledged feature in v17. Signals give developers another option for displaying component data on the UI. Before this there were two options:
// #1 - Simple variable reference
value = 1;

<h1> {{ value }} </h1>
// #2 - Behaviour Subject (rxjs)
value = new BehaviorSubject<number>(1);

<h1> {{ value | async }} </h1>
In the next section, we will look at the performance improvements brought about by Signals.
Performance Illustration
#1 – Without Signals
Without using signals, the whole component tree is re-rendered after change detection occurs.
#2 – On Push Change Detection

With ChangeDetectionStrategy.OnPush, the whole component branch above our change is re-rendered.
#3 – With Signals
As you can see; with signals, only the component that uses the signal is re-rendered.
The diagrams illustrate the differences in how the component tree is re-rendered, when a value within a component is updated. Application performance is improved when less of the tree requires rendering. Signals, particularly when combined with ChangeDetectionStrategy.OnPush, offer the most fine-grained control over change detection and therefore the greatest performance.
Here is a demo that compares using signals, versus the traditional way of displaying component data in our templates: see GitHub

Try It!
Finally, we will look at writing some basic signals. First we’ll setup a basic Angular project.
Prerequisites
You must have Node JS and NPM installed and have a basic knowledge of using them. It would also be beneficial to have a working knowledge of using Angular.
If you’re new to Angular please see this guide to get you started.
Note: If you’re short on time or you’d rather just see a finished version to play with, you can checkout this example from GitHub. However, we do recommend following along with the next section, particularly if you’re relatively new to Angular 17.
Setup
The first step is to install the Angular CLI on your environment as we’ll be using this to generate our initial components.
npm i -g @angular/cli@17
Setup a new project
Now we’re ready to begin creating our project, start with `ng new` to create the initial project and name it angular-signals choosing these options:
ng new angular-signals
> Which stylesheet format would you like to use? Sass
> Do you want to enable Server-Side Rendering (SSR) and Static Site Generation (SSG/Prerendering)? Yes
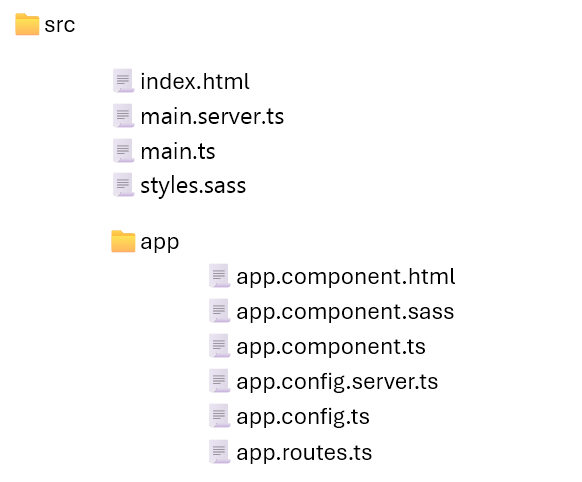
Once the Angular CLI has finished setting up your new project, your project structure should look like this:
Building an application using Signals
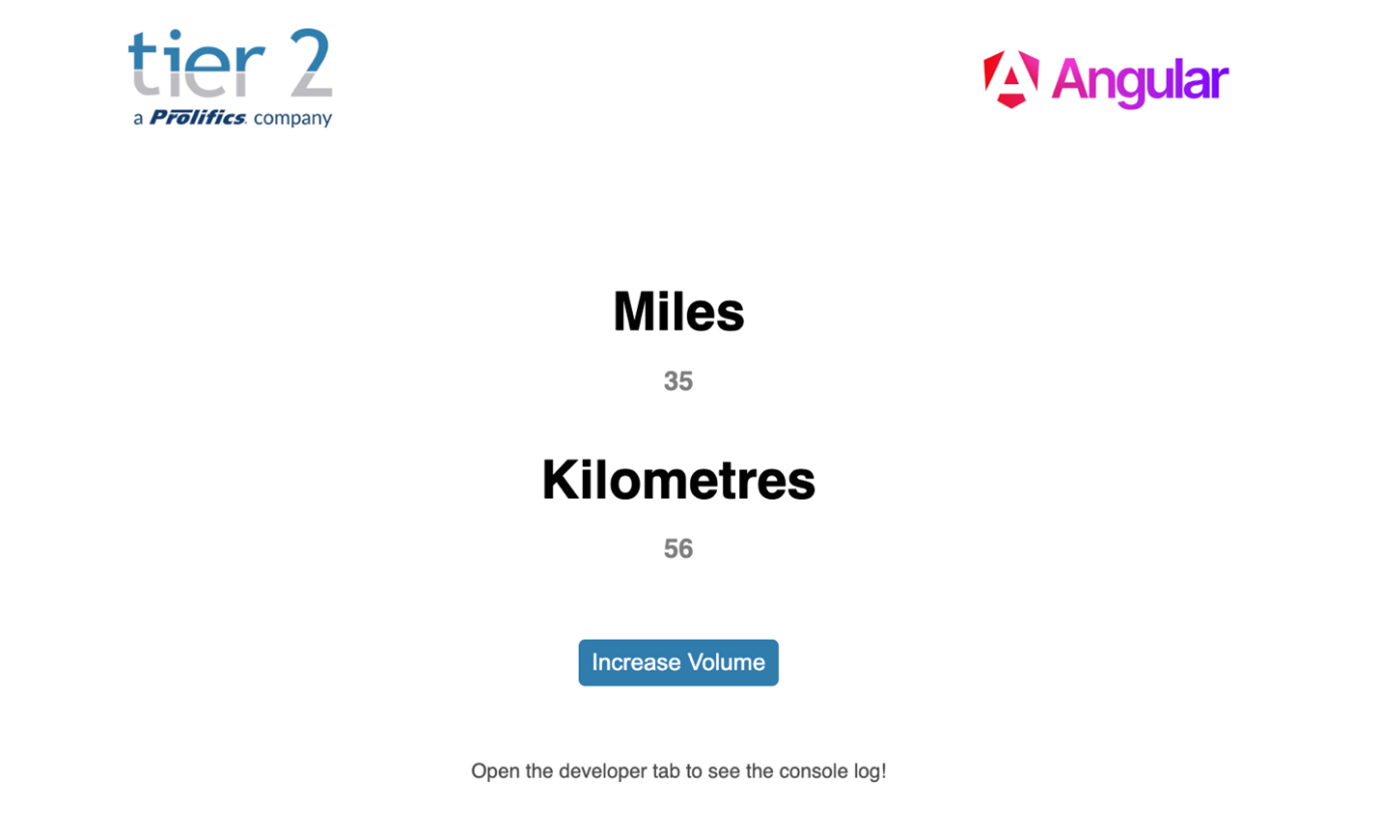
Here we have an app for runners that converts mileage into kilometres.
// app.component.ts
@Component({
    selector: app,
    standalone: true,
    imports: [...],
    templateUrl: './app.component.html/span>',
    styleUrl: './app.component.sass'
})
export class AppComponent {

    // Signal :: Writable
    miles: WritableSignal<number> = signal(0);

    // Signal :: Computed
    kilometers: Signal<number> = computed(() => 1.60934 * this.miles());

    constructor() {
        // Signal :: Effect
        effect(() => {
            console.log(`The current mileage is: ${this.miles()}`);
        });
    }

    increaseVolume(): void {
        this.miles.update((value) => value + 1);
    }
}
Inside our component typescript file are the definitions for our three signals:
- a writable called `miles`,
- a computed called `kilometres`
- an effect in our constructor.
You can see that the `kilometres` is a function that will perform a calculation using our `miles` signal value. Similarly, that the `effect` signal is dependent on `miles` too, writing a log line to the console each time the miles value is updated.
The `increaseVolume` function is the ‘click’ event handler associated to the button on the page. When this function is called, it will increment the value held by the mileage signal and trigger the other signals to perform their functions too.
<!-- app.component.html -->
<h1>Miles</h1>
<h2>{{ miles() }}</h2>

<h1>Kilometers</h1>
<h2>{{ kilometers() }}</h2>

<button (click)="increaseVolume()">Increase Volume</button>
In our template, we access the signal value using standard getter notation. When the values tracked by the signals change, Angular Change Detection picks up which components need to be re-rendered.
Summary
In this article, we’ve introduced Angular Signals and illustrated the performance improvements brought about by finer control over re-rendering your component tree.
In the next post in our Angular series, we’ll be talking about how to implement a non-intrusive CAPTCHA into your web form.
How can Tier 2 help?
If you’re in search of expert assistance in software development, Tier 2 is your dedicated partner. Reach out to discuss your specific requirements and discover how our custom software solutions can elevate your digital initiatives. Talk to Tier 2 for a bespoke software solution leveraging industry-standard Java technologies, agile development, and user-centric design.